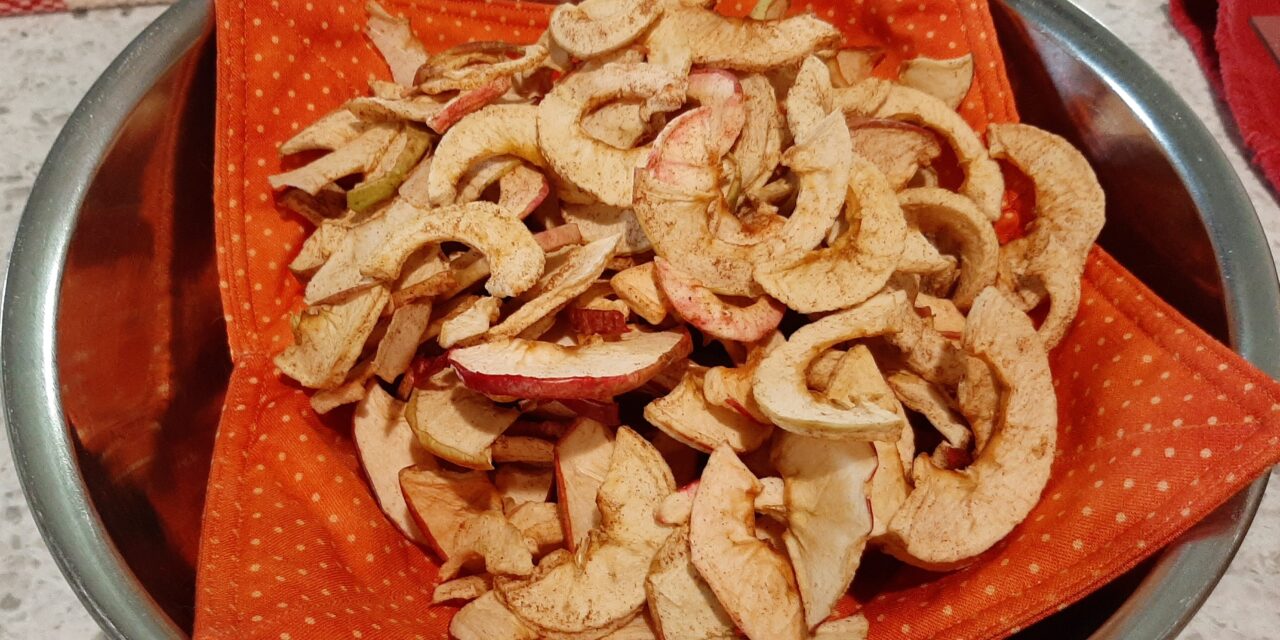
The Simple Guide to Dehydrating Food | Part 2 – Dehydrating Apples
Have an abundance of apples? Dehydrating is one of the easiest ways to turn them into delicious, naturally sweet snacks you can enjoy long after apple season has ended.
Recently, I picked a bucket of apples from a friend’s tree. There were far more than I could eat fresh, so I decided to pull out my dehydrator and put those apples to good use!
One of the things I love about dehydrating is how simple it is. You don’t need added sugar, complicated ingredients, or a lot of hands-on time.
And there’s something especially satisfying about turning a bucket of fresh fruit into jars of homemade apple snacks or stir-ins for oatmeal.
Here’s how to do it.
Why Dehydrate Apples?
Apples are a great choice for beginners because they’re easy to prepare, naturally sweet, and dry beautifully.
Dehydrating removes most of the fruit’s moisture, helping slow the growth of microorganisms responsible for spoilage.
It also makes apples smaller, lighter, and easier to store.
And while some heat-sensitive nutrients may be reduced during dehydration, much of the original fiber and minerals remain.
If you’re curious about the nutritional changes, I explore those in Part 1: Are Dehydrated Apples Still Healthy? What Happens to Their Nutrients?
What You’ll Need
You don’t need much equipment to get started.
- Fresh apples
- A sharp knife, mandoline slicer, or apple slicer
- An apple corer (optional)
- A cutting board
- A food dehydrator
- Clean, dry containers for the finished apples
- Optional: ascorbic acid solution (vitamin C) or lemon juice for preventing browning and adding back some vitamin C that may be lost in dehydrating.
NatCurious Tip: Choose fresh, firm apples without signs of spoilage. You can use different varieties, so don’t worry if your apple collection is a mixture of sweet and tart!
How to Dehydrate Apples
Step 1: Wash and Prepare Your Apples
Start by washing your apples thoroughly under cool running water.
Remove any damaged areas and discard apples showing signs of rot or mold.
Next, remove the cores with an apple corer. If you are using an apple peeler-corer-slicer, you can leave the apples whole.
You can peel your apples if you prefer, but I like leaving the skins on.
Why?
Apple skins contain dietary fiber and beneficial plant compounds, including polyphenols. Keeping the peel means retaining more of what the whole apple naturally offers.
Plus, it’s one less preparation step!
Step 2: Slice Your Apples Evenly
Slice the apples into rings, wedges, or half-moons, depending on your preference.
Aim for slices approximately 1/8 to 1/4 inch thick.
The most important thing is consistency.
When slices are roughly the same thickness, they’ll dry at a more even rate.
Thinner slices tend to dry faster and can become crispier, while thicker slices often produce a softer, chewier texture.
If you’re preparing a large batch, an mandoline or apple slicer or apple peeler-corer-slicer can save considerable time.
Just be careful with those fingertips!
Step 3: Should You Pretreat Apples Before Dehydrating?
Have you ever sliced an apple and noticed it beginning to turn brown almost immediately?
That’s a natural process called enzymatic browning.
When the cut surface of an apple is exposed to oxygen, enzymes in the fruit react with certain compounds, causing discoloration.
Browning doesn’t automatically mean the apple is spoiled, but pretreatment can help maintain a lighter, more appealing color.
An Easy Vitamin C Pretreatment
Ascorbic acid (vitamin C) is an effective option for reducing browning.
Lemon juice is my choice, although it is thought to be generally less effective than a properly prepared ascorbic acid solution and may add a slightly tart flavor. I always have lemon juice available, and I like the fresh taste, so that’s what I use.
But you can also prepare a solution using food-grade ascorbic acid according to the product’s directions for fruit pretreatment.
Do you have to pretreat your apples?
No. Pretreatment is optional for apples. It is thought to reduce browning and add back a bit of Vitamin C, but if you don’t mind a little natural browning, you can skip this step and move straight to the dehydrator.
Step 4: Arrange the Apples on Your Dehydrator Trays
Place the apple slices in a single layer on your dehydrator trays.
Try not to overlap them.
Good airflow is important because the dehydrator needs to move warm air around the fruit to remove moisture effectively.
If you’re drying several trays at once, follow your dehydrator manufacturer’s instructions for tray placement and rotation.
Some models distribute air more evenly than others.
Step 5: What Temperature Should You Use to Dehydrate Apples?
For apples, I generally set the food dehydrator to 130°F (54°C) to no more than 140°F (60°C)
This is a commonly recommended temperature for drying fruit in a home dehydrator.
It’s warm enough to remove moisture efficiently without unnecessarily exposing the apples to excessive heat.
Remember, dehydrating isn’t the same as cooking. We’re trying to remove moisture while preserving as much of the fruit’s original quality as practical.
Step 6: How Long Does It Take to Dehydrate Apples?
Apple slices commonly take approximately 6–12 hours, although drying times can vary considerably.
Several things influence how quickly your apples dry:
- Slice thickness
- Apple variety
- Moisture content
- Room humidity
- Dehydrator temperature
- Air circulation
- Number of trays being dried
For example, my apple peeler-corer-slicer creates slices approximately 1/4 inch thick. I stir them around in lemon juice and a water solution. They take, on average, 10 hours to dry.
Also, thin slices in a lightly loaded dehydrator may dry considerably faster than thick slices in a fully loaded machine.
Start checking your apples after approximately six hours, but don’t rely on the clock alone.
The condition of the fruit is more important than the number of hours it has spent in the dehydrator.
Step 7: How Do You Know When Dehydrated Apples Are Done?
This is one of the most important parts of the process.
Properly dried apples should generally feel leathery and pliable, with no visible moisture when cut or squeezed.
Here’s a simple way to check:
- Remove a few pieces from different areas of the dehydrator.
- Allow them to cool completely.
- Cut or tear a thicker piece in half.
- Check for visible moisture or dampness.
If the center still appears moist, return the apples to the dehydrator and continue drying.
Why let dehydrated apples cool first?
Warm fruit can feel softer than it actually is, making it difficult to judge the final texture.
If you’re aiming for crispy apple chips rather than chewy dried apples, continue drying until the slices reach your preferred crispness.
Just remember that all pieces need to be sufficiently dry before storage.
Step 8: Conditioning Your Dried Apples!
Here’s a step that I just learned about while researching this post — conditioning.
Even when apple slices appear completely dry, some pieces may contain slightly more moisture than others.
Apparently, conditioning helps distribute any remaining moisture more evenly throughout the batch, and can be an important step before long-term storage. I can help you identify condensation before putting the dried apples up for long-term storage.
I will be trying this on my next apple run, but here’s the general idea:
How to Condition Dehydrated Apples
Once the apples have cooled completely:
- Loosely fill a clean, dry glass jar approximately two-thirds full.
- Close the jar.
- Shake the jar once a day for 7–10 days to separate the pieces.
- Watch for condensation or moisture collecting inside.
If condensation appears, return the apples to the dehydrator for additional drying.
If you notice mold, discard the affected batch.
Once the conditioning period is complete and there are no signs of excess moisture, your apples are ready for packaging and storage.
How Long Do Dehydrated Apples Last?
The general consensus online is that dehydrated apples will last 6 to 12 months at room temperature when stored properly in an airtight container. Store them in a cool, dark, and dry place.

A Few Extra Tips for Better Dehydrated Apples
After you’ve dehydrated a few batches, you’ll probably develop your own favorite methods.
But these simple habits can help right from the beginning:
Keep the skins on. You’ll save preparation time while retaining more of the apple’s fiber and beneficial plant compounds.
Use consistent slices. Even thickness makes drying much easier to manage. Use an apple slicer gadget to help keep slice thickness consistent.
Don’t overcrowd your trays. Good airflow helps the apples dry more evenly.
Check the thicker pieces. They’re usually the last to finish drying.
Let everything cool before testing or packaging. This makes it easier to assess dryness and helps prevent condensation inside storage containers.
Label your finished batches. Include the apple variety, if known, and the date you dehydrated them.
Final Thoughts
One of my favorite things about dehydrating apples is that it turns something temporary into something you can enjoy for months.
A bucket of freshly picked apples might be more than you can eat before they begin to spoil, but a few hours of preparation and drying can turn that abundance into convenient homemade snacks.
And you don’t need to add sugar to make them taste wonderful.
Sometimes the simplest food preservation methods are also the most satisfying.
Small discoveries. Better days.
Keep Exploring
Part 1: Are Dehydrated Apples Still Healthy? What Happens to Their Nutrients?
Part 3: How Long Does Dehydrated Food Last? A Simple Storage Guide
Shop This Post
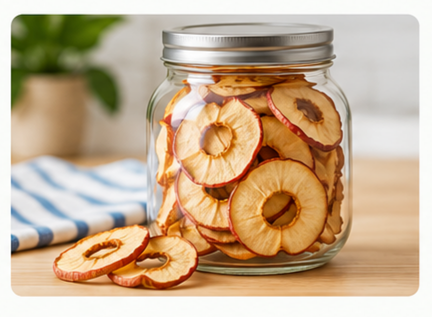
Airtight glass jars keep your dehydrated foods fresh and flavorful for longer.
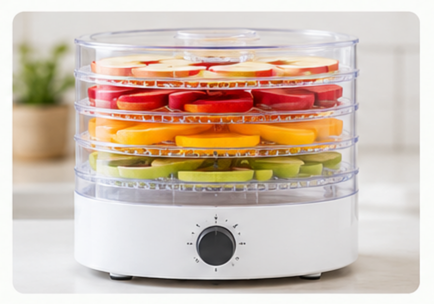
A reliable, easy-to-use dehydrator is a great investment for anyone who wants to preserve fresh food at home.
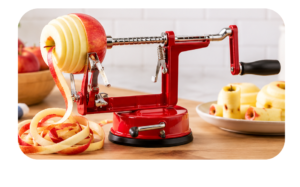
Quickly and easily peel, core, and slice apples (or potatoes!) with this handy kitchen tool. It saves time and makes prep a breeze!
Keep Learning
For deeper exploration, check out the sources below from peer-reviewed research, trusted health institutions, or other evidence-based articles:
1. Zepp, M. (2023). Dried Apples. Penn State Extension. https://extension.psu.edu/dried-apples
Used for: Apple selection, slice thickness, pretreatment options, drying temperatures, approximate drying times, testing for dryness, and conditioning.
2. Penn State Extension. Let’s Preserve: Drying Fruits and Vegetables (Dehydration). https://extension.psu.edu/drying-fruits-and-vegetables
Used for: General dehydration procedures, washing produce, arranging fruit on trays, airflow, pretreatment, and avoiding case hardening (when the outside dries too quickly and traps moisture inside).
3. National Center for Home Food Preservation. Packaging and Storing Dried Foods. University of Georgia. https://nchfp.uga.edu/how/dry/general-information-drying/packaging-and-storing-dried-foods
Used for: The importance of conditioning dried fruit for 7–10 days, identifying condensation, reducing the risk of mold, and preparing dried foods for storage.
4. Penn State Extension. Preserving the Amazing Apple. https://extension.psu.edu/preserving-the-amazing-apple
Used for: Explaining how dehydration concentrates apple flavor, the differences between chewy apple slices and crisp apple chips, and the role of pretreatment in reducing browning.